

You can set up Google Tag Manager directly from within Consent. Let's look at the steps:
Step 1: Open the GTM Wizard
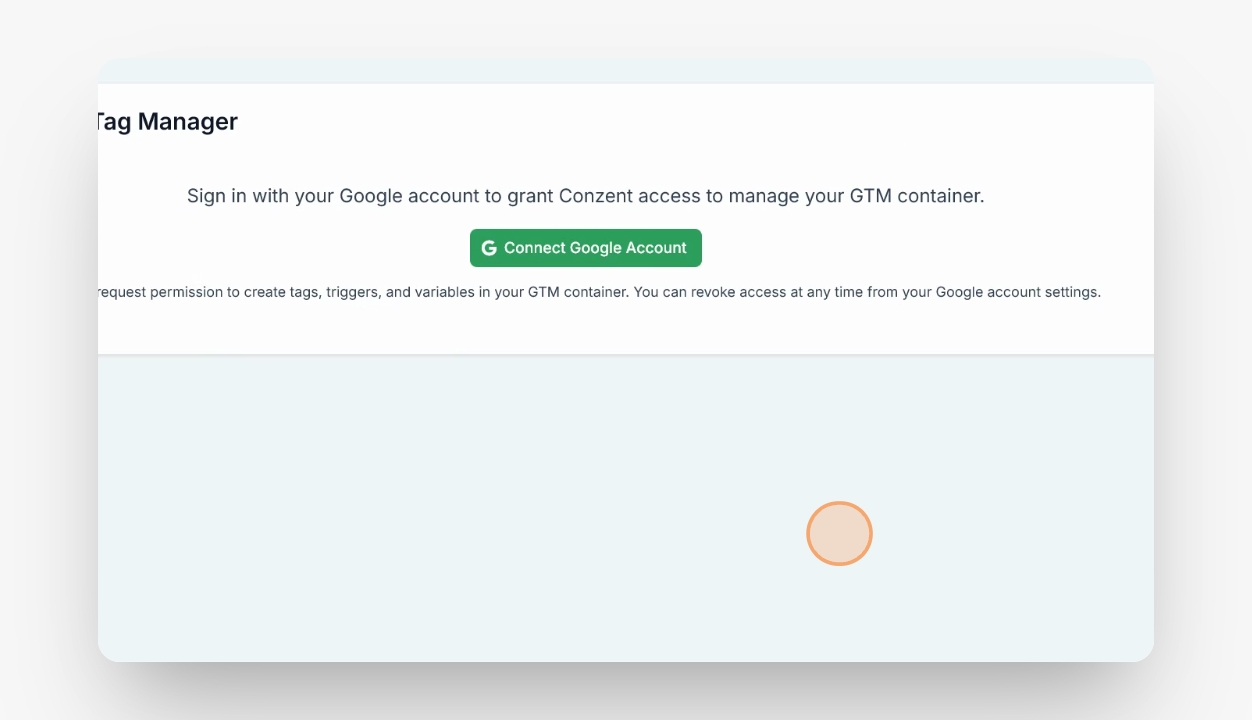
Click on the GTM wizard in Consent and connect your Google account.
Step 2: Select Your GTM Account
Choose the Google Tag Manager account you want to use, such as your test account.
Step 3: Choose Website and Workspace
Select the website and the default workspace, or pick another workspace. You can also create a new workspace named Consent Workspace.
Step 4: Configure Pixels
Click Next to configure all the pixels you want. If you don't want to configure anything on this page, just click Next again.
Step 5: Set Up Consent CMP Tag
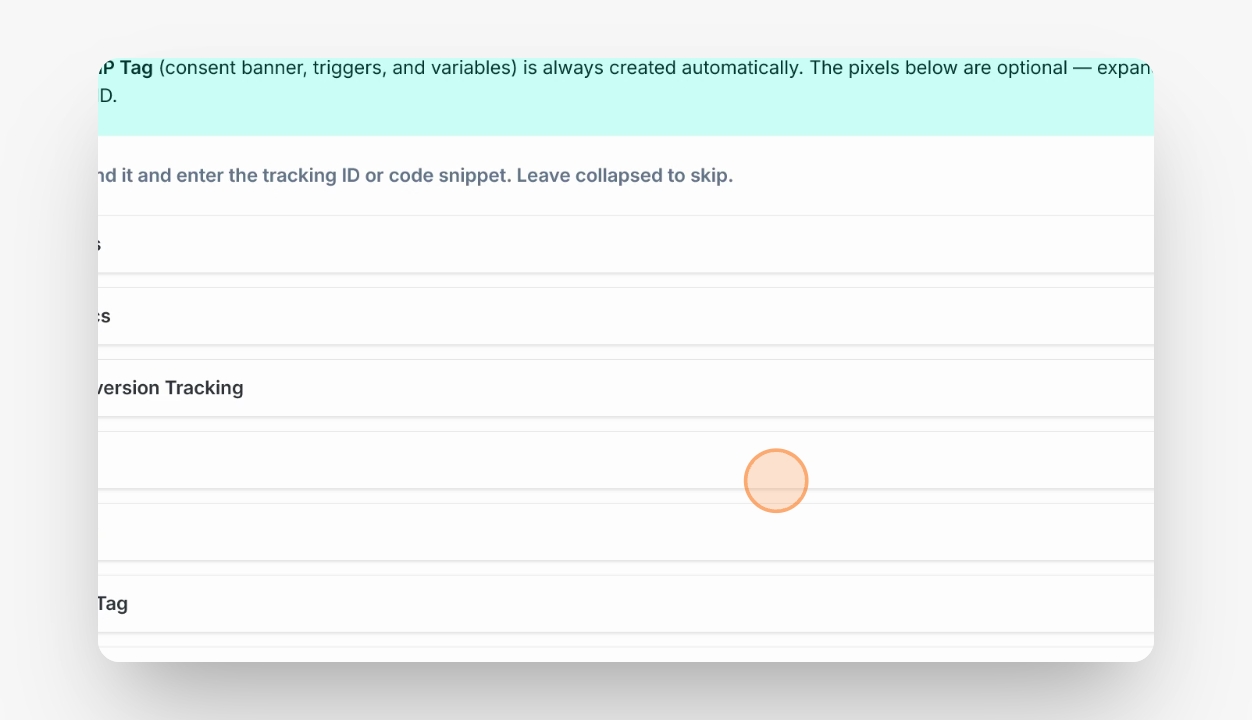
Proceed to set up the Consent CMP tag. You can add integrations such as Google Analytics by entering the measurement ID, or add other tracking scripts for Google Ads, Facebook Pixel, Clarity, LinkedIn Insight Tags, Pinterest, Snapchat, and TikTok.
Step 6: Create Tags in GTM
All tags you set up will be created as the correct tags in Google Tag Manager.
Step 7: Apply the Configuration
Click Next and then Apply to apply your configuration.
Step 8: Handle Existing Tags
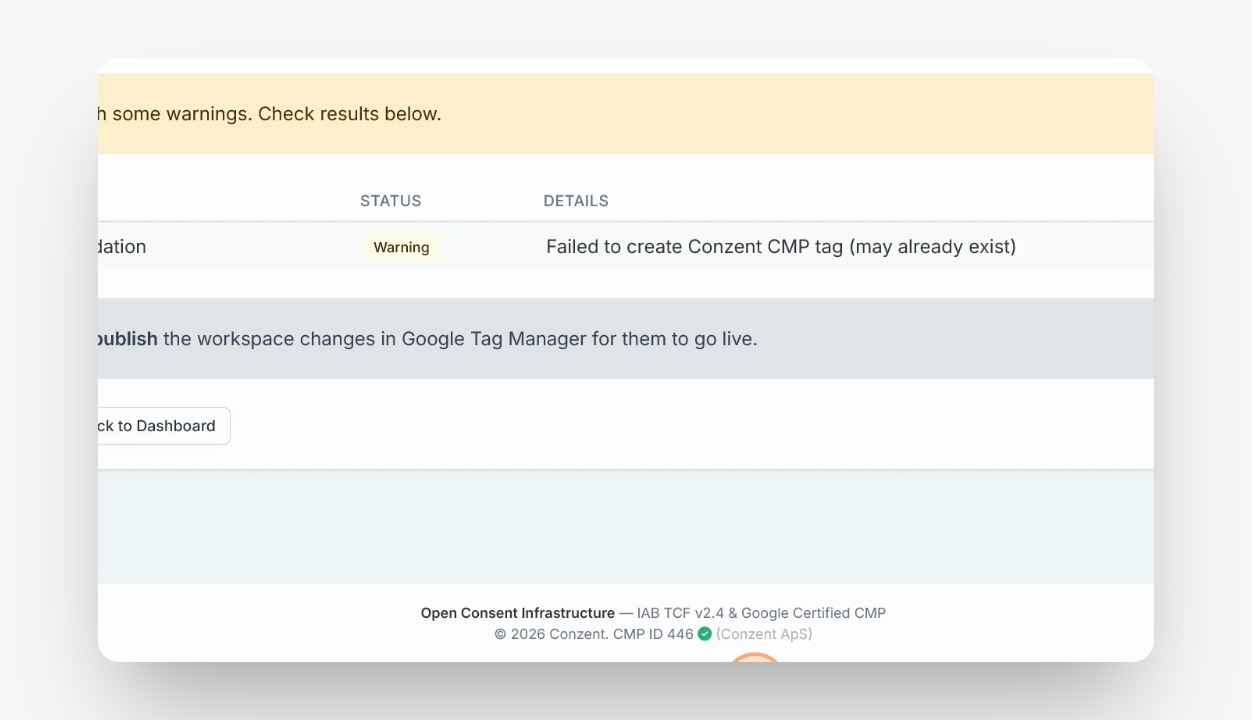
If the tags are not already present, they will be applied. If they already exist, you will receive a warning.
If you see a warning that some tags may already exist, you can either run the process again or return to the dashboard.
Step 9: Publish Changes in GTM
Remember to publish the changes in Google Tag Manager, as changes do not go live automatically. Log in to Google Tag Manager and publish your updates.
That's all you need to do to complete the setup.