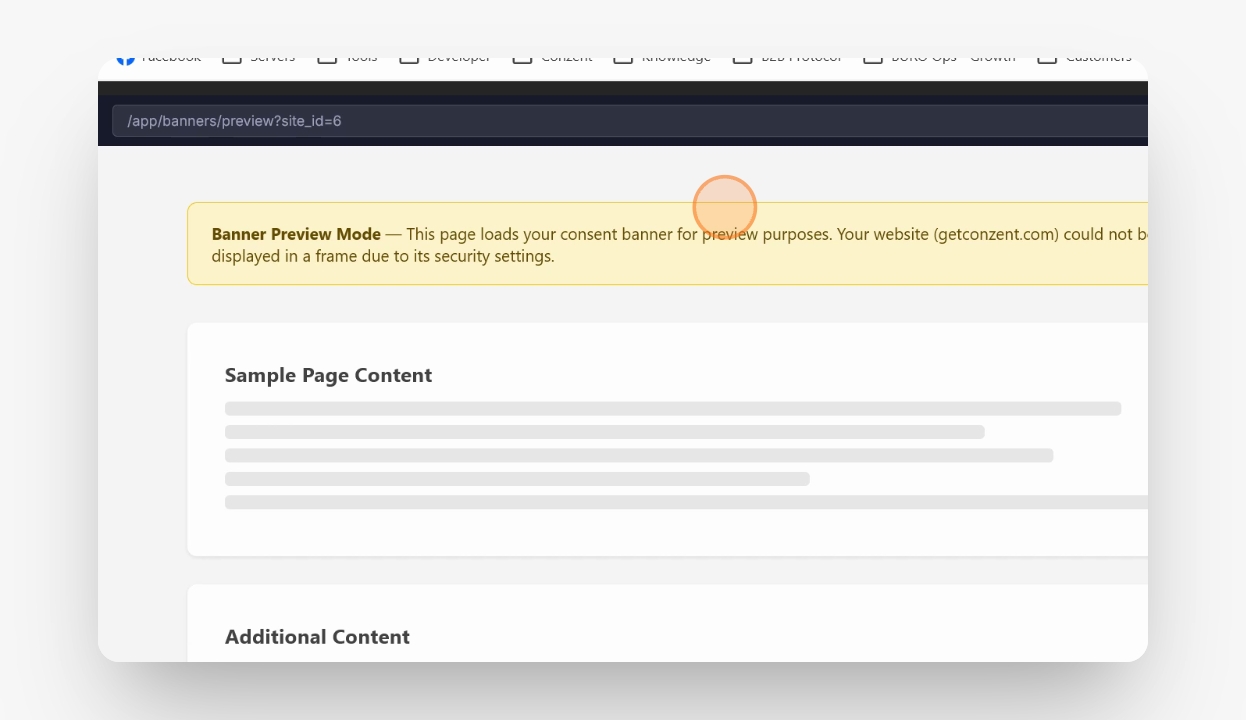

Configuring your consent banner is straightforward. You can start by selecting one of the four available Issuela items. Let's look at the steps:
Step 1: Select a Banner Type
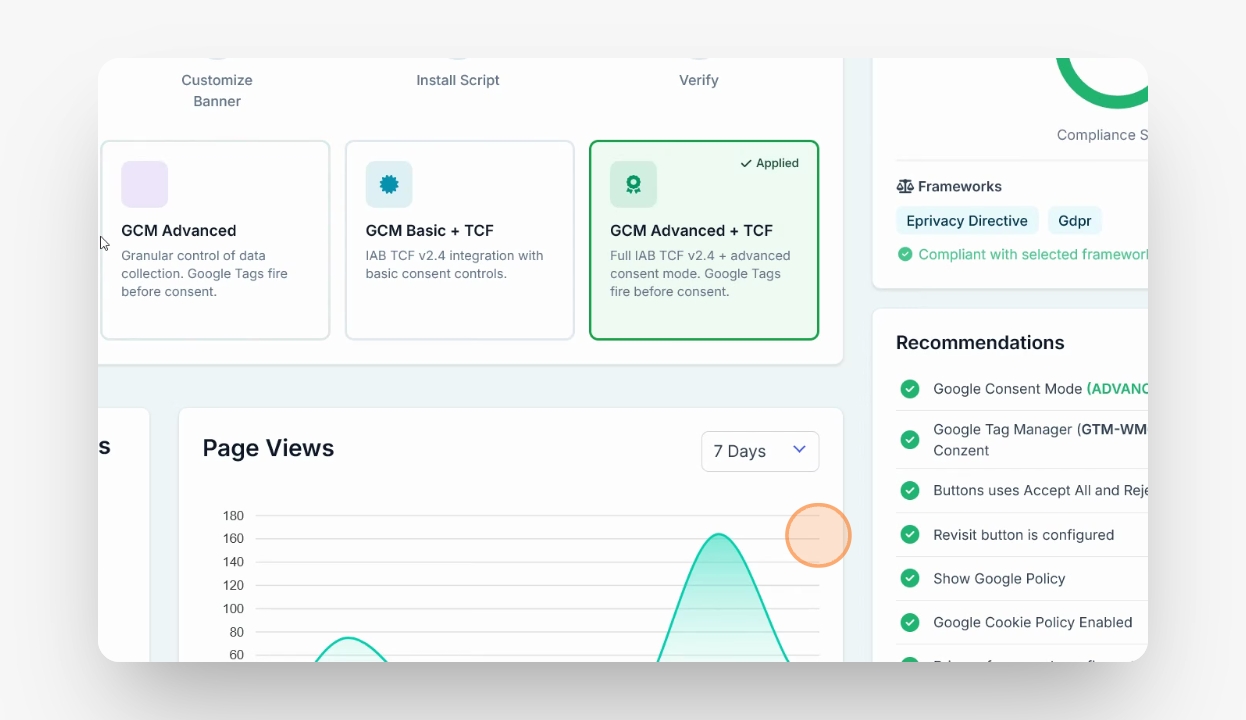
Click on one of the four Issuela items to choose your banner type. Options include Basic, Advanced, and TCF modes.
Step 2: Apply the Selection
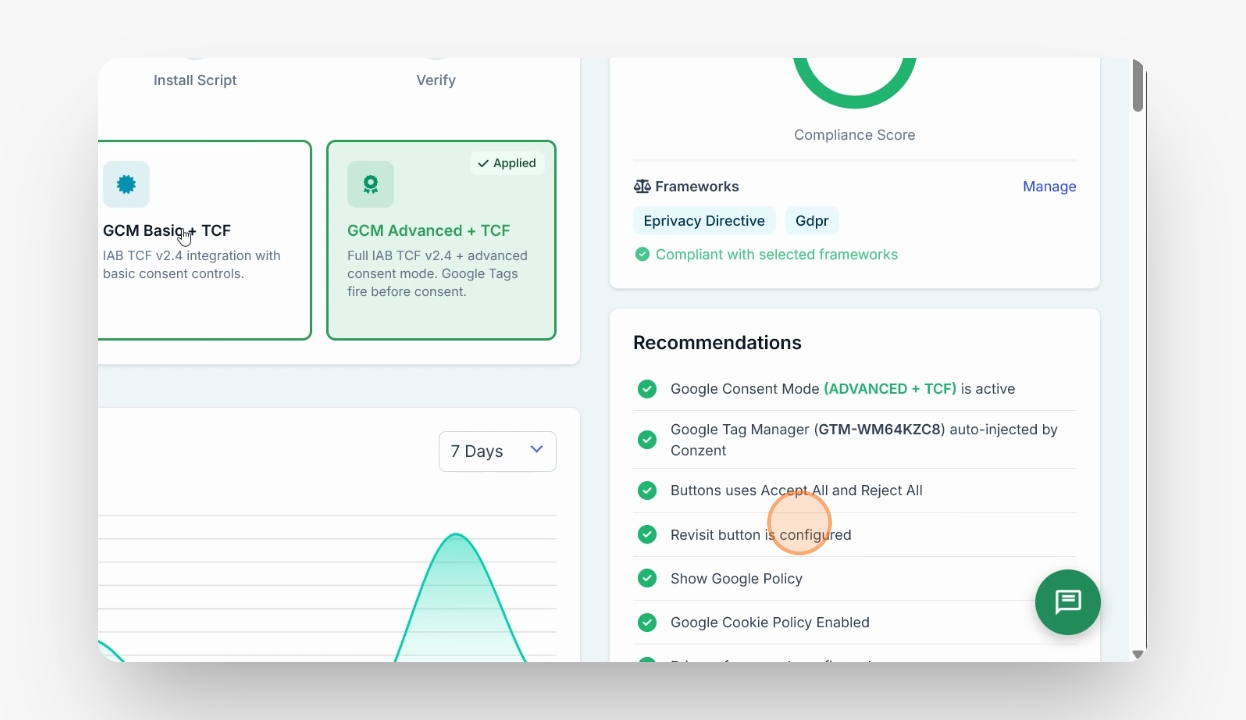
After choosing your banner type, click Apply to confirm your selection. This completes the basic setup.
Step 3: Customize Banner Settings
If you want to further customize your banner, adjust the following settings as needed:
Target countries: Set to Worldwide or limit to EU and UK countries.
Enable or disable features like IAB Additional Consent Mode and Google Consent Mode v2.
Set expiration dates and other advanced options.
Step 4: Choose Banner Layout
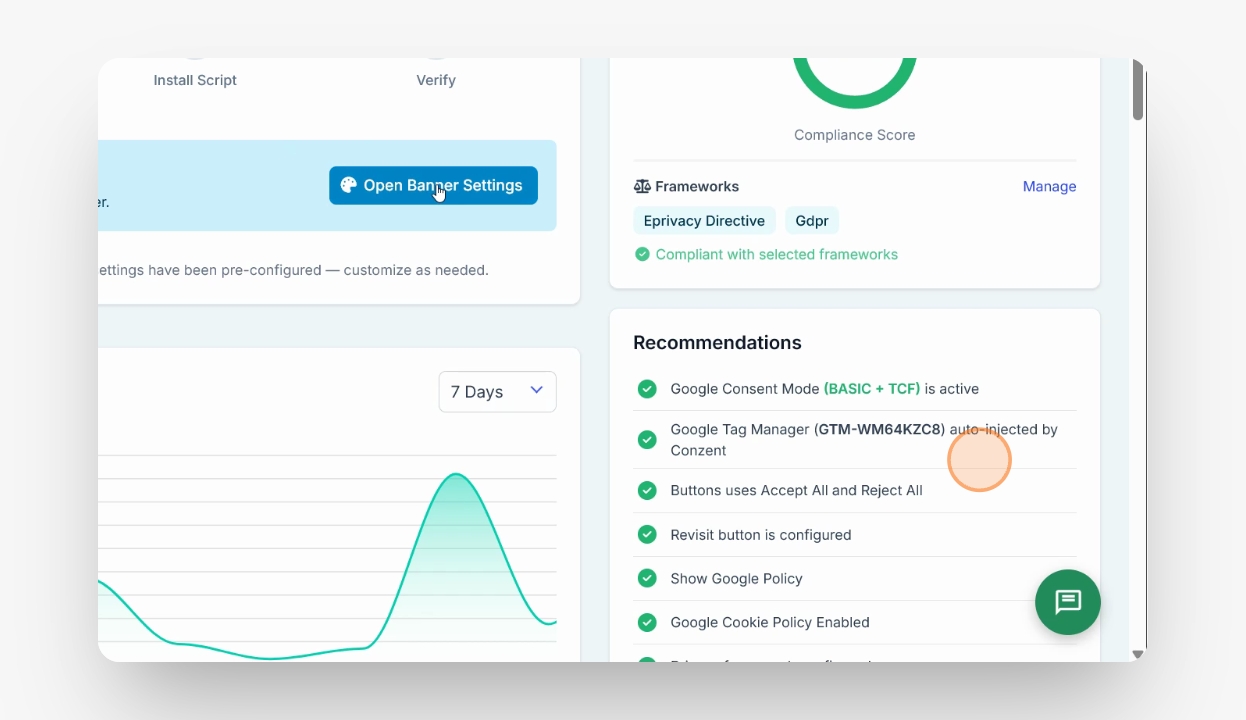
Select your preferred banner layout, such as classic, minimal, or stacked card. You can modify these layouts under the Layout section or create your own custom layout.
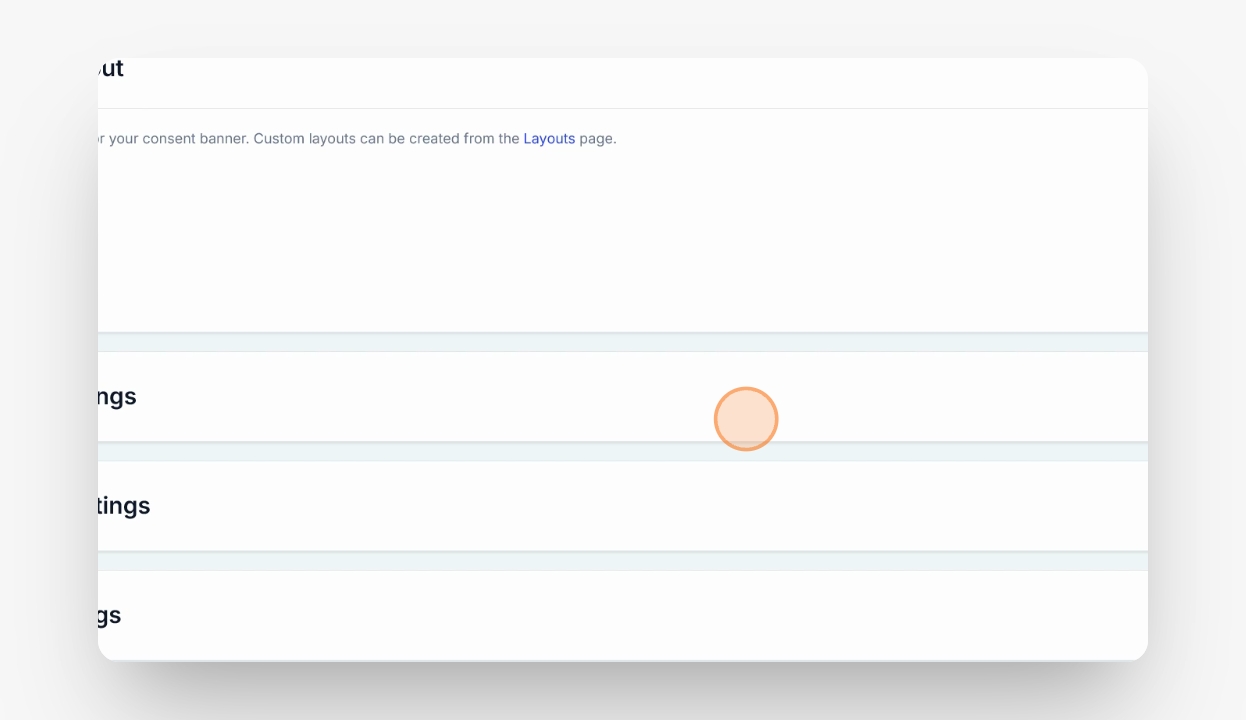
Step 5: Adjust Layout and Content Settings
In Layout Settings, choose between a popup banner or box and set the position of elements. Under Content Settings, select which buttons to display and where to position the revisit button (left or right). You can also set color schemes, banner content, and translations.
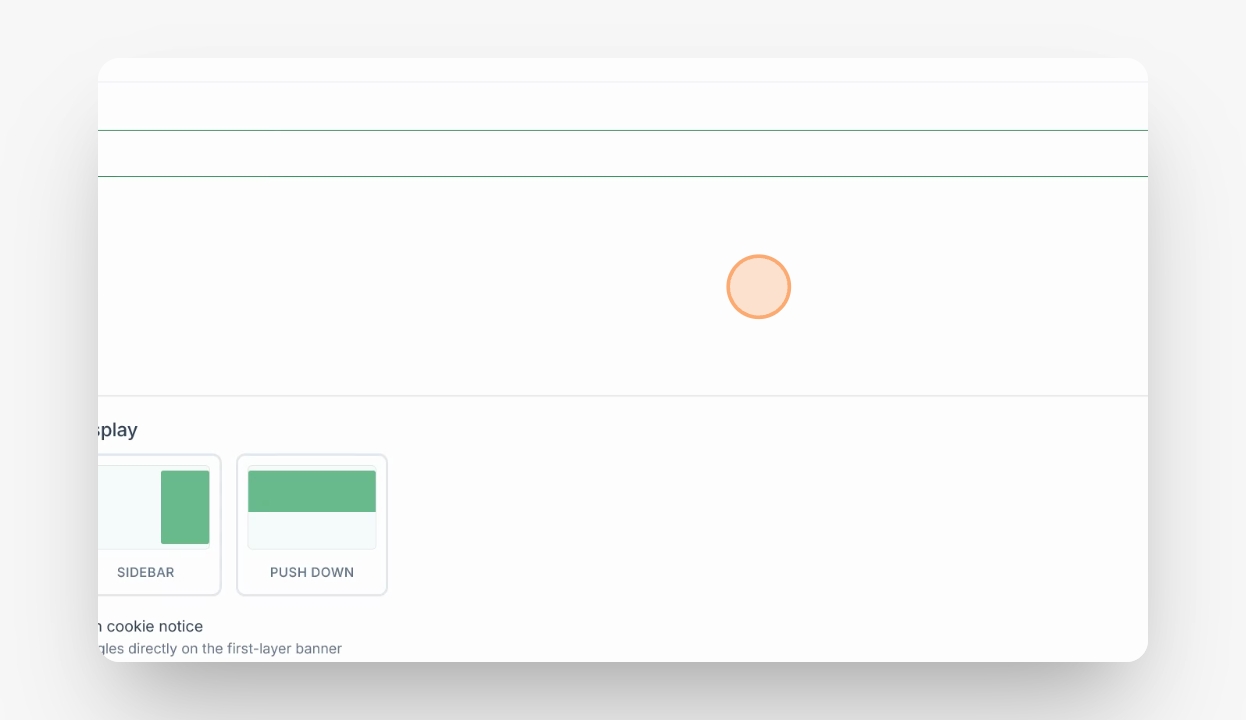
Step 6: Edit Translations
All content is pre-translated, but you can make changes to translations if needed.
Step 7: Configure Advanced Settings
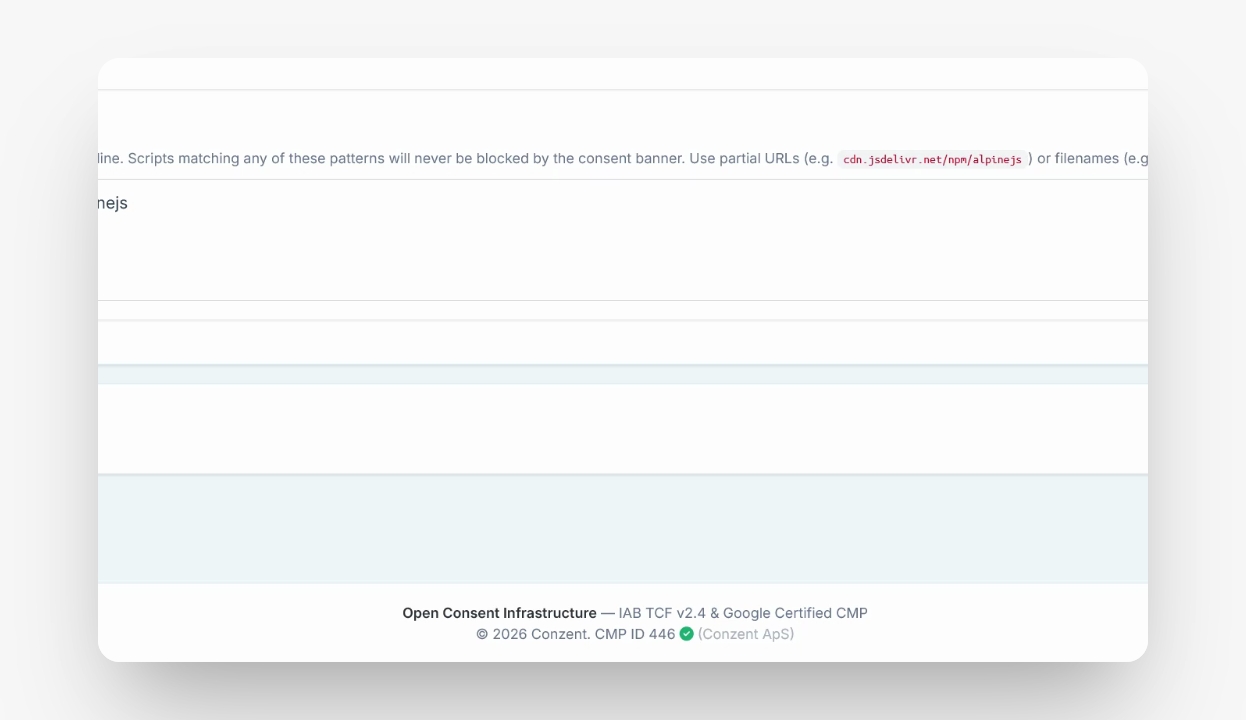
In Advanced Settings, you can manage iframe handling, banner display timing, language loading, and allow specific tags (e.g., Google, Microsoft UET, Amazon) to fire before consent modes. You can also add custom CSS for further customization.
Step 8: Save and Preview
Once you have finished configuring your banner, click Save All. You can then preview your banner to see how it will appear to users.
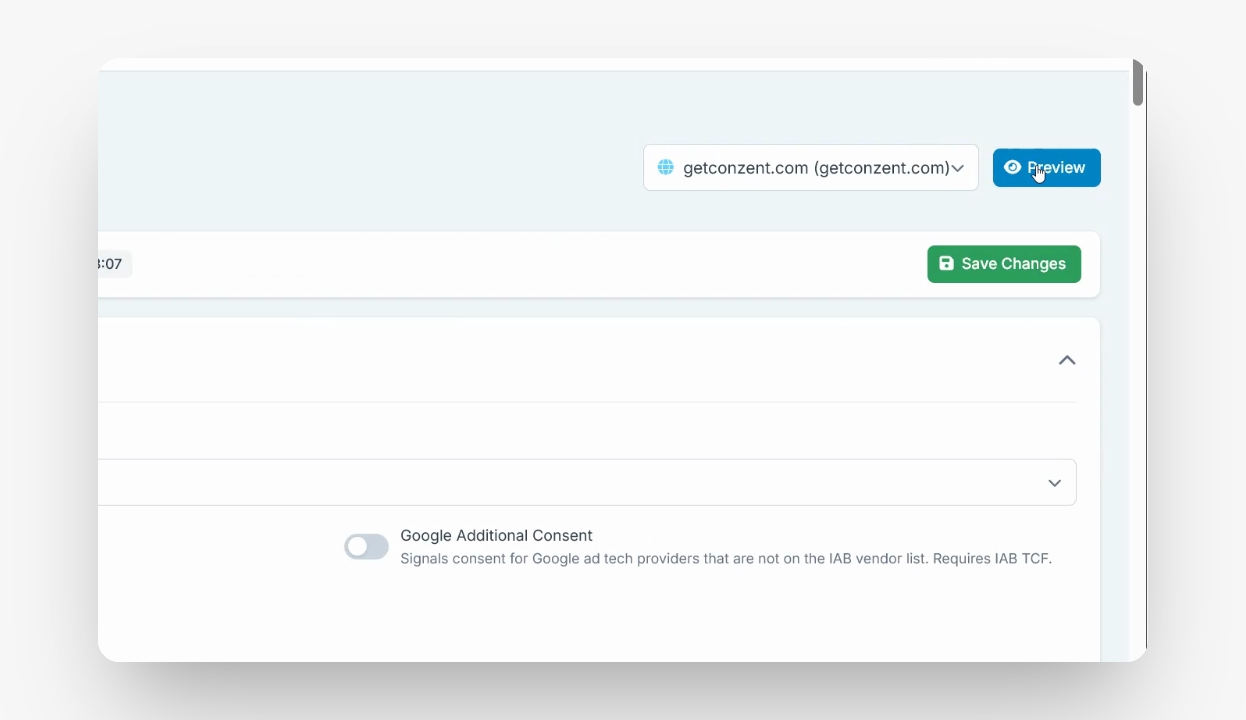
The preview shows only the banner, not the full page. After saving changes, your setup is complete.